Our Tabs
- Design Consultancy
- Architecture Design
- Corporate Interior
- Commercial Interior
- Residential Interior

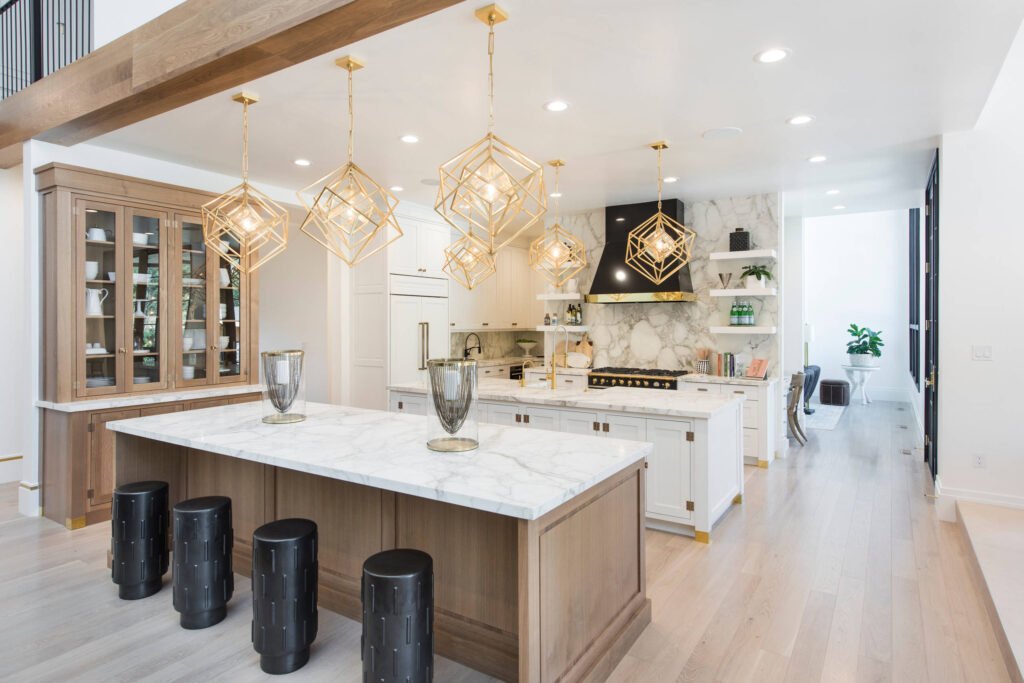
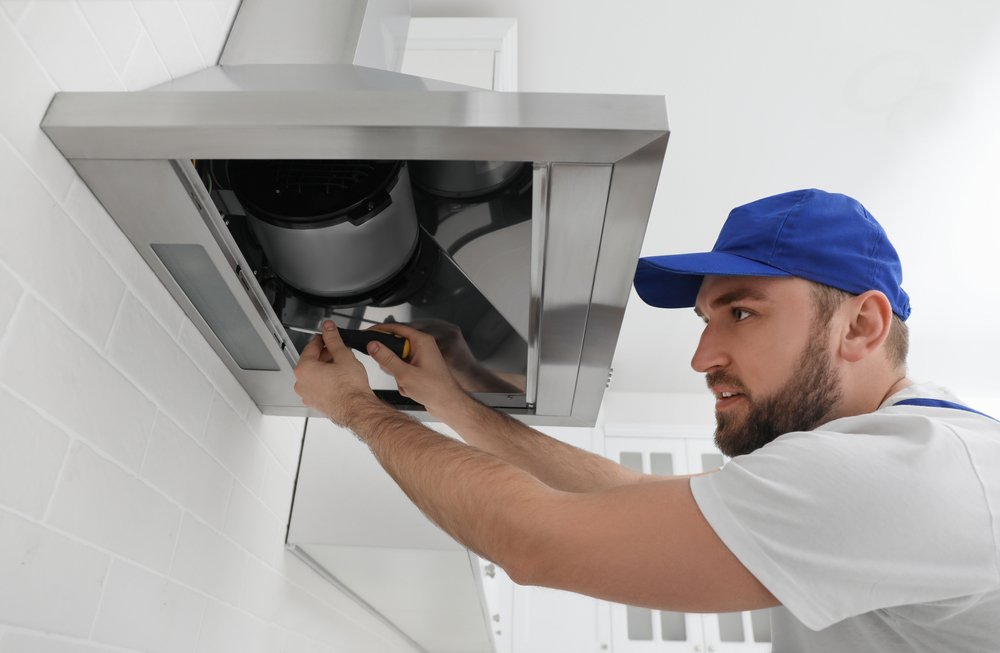
Range Hood Assessment
We help ambitious businesses like yours generate more profits by building awareness, driving web traffic, connecting with customers, and growing overall sales. Give us a call.
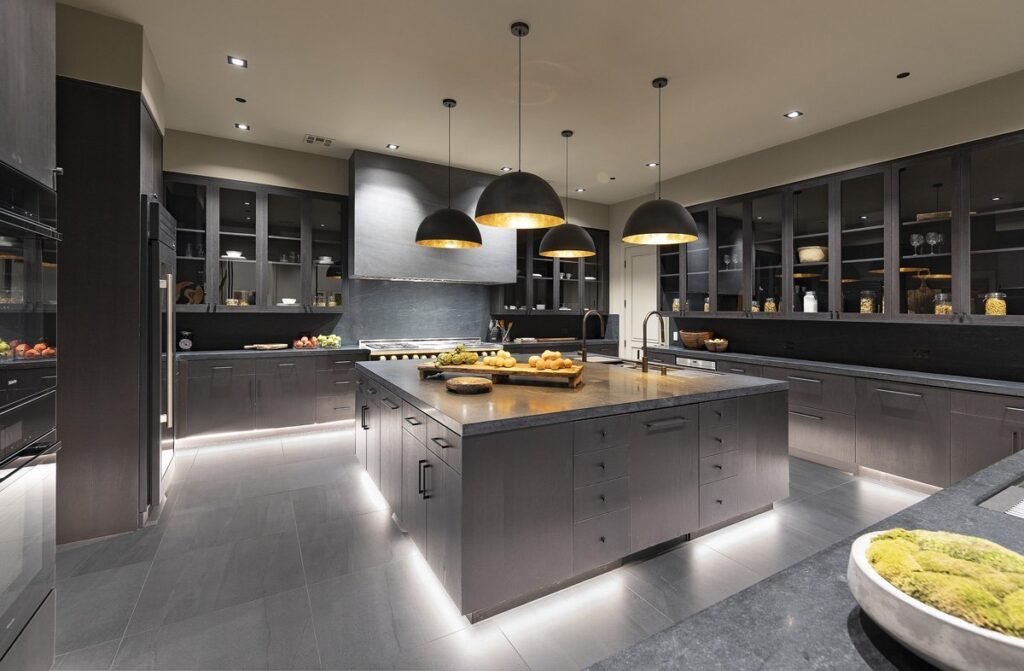
Range Hood Assessment
We help ambitious businesses like yours generate more profits by building awareness, driving web traffic, connecting with customers, and growing overall sales. Give us a call.
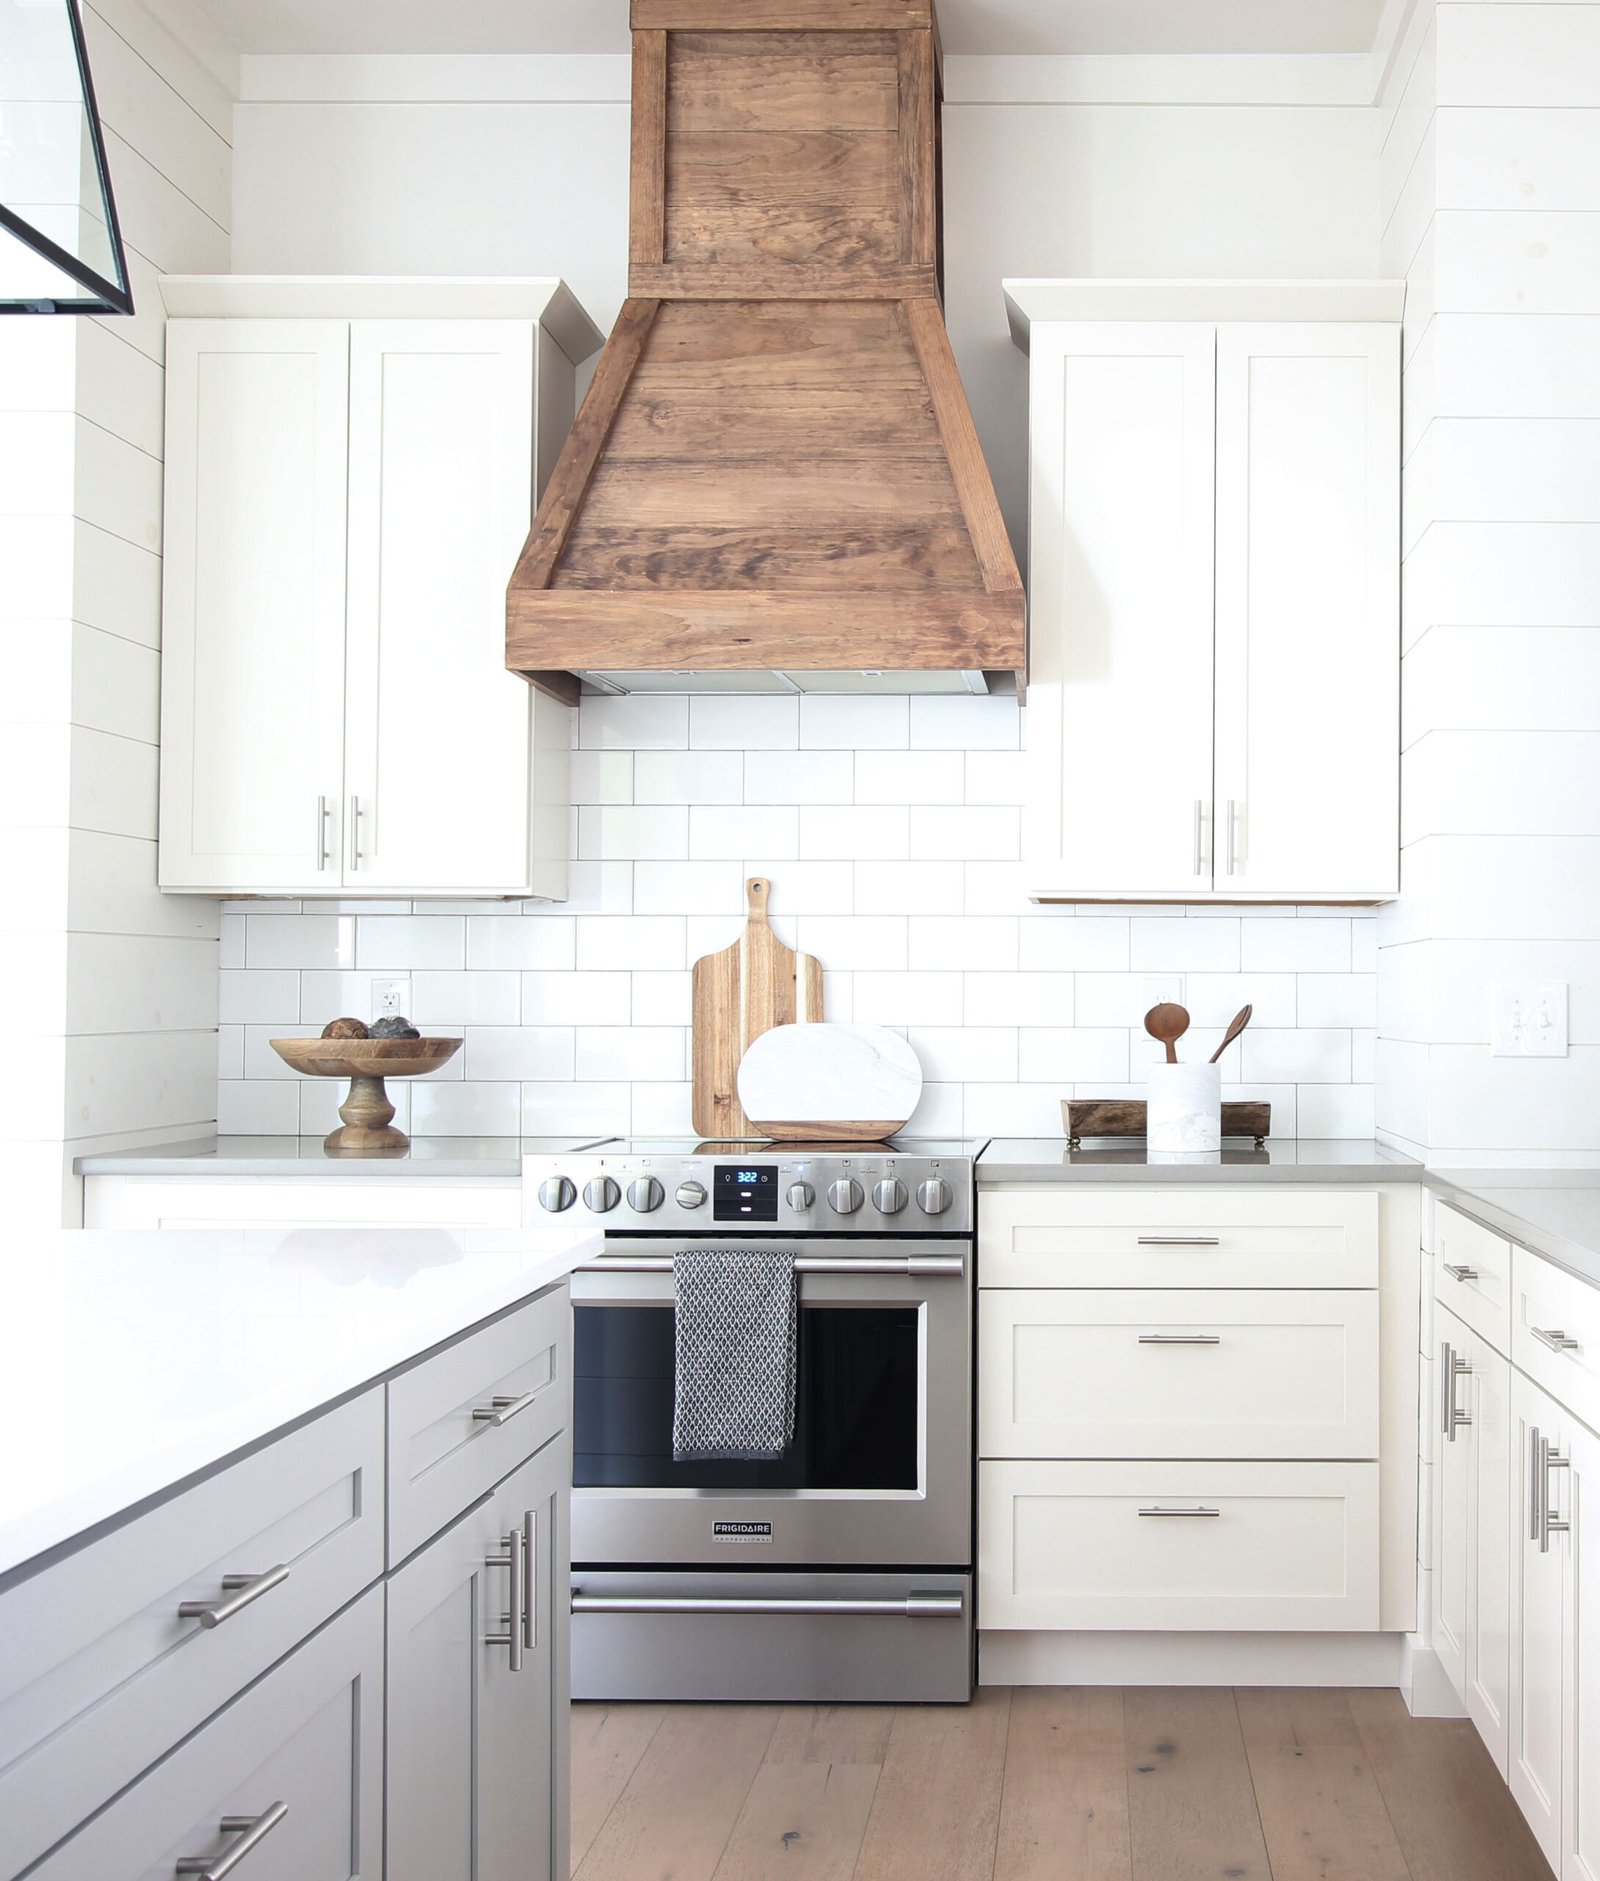
Range Hood Assessment
We help ambitious businesses like yours generate more profits by building awareness, driving web traffic, connecting with customers, and growing overall sales. Give us a call.
Range Hood Assessment
We help ambitious businesses like yours generate more profits by building awareness, driving web traffic, connecting with customers, and growing overall sales. Give us a call.
We help ambitious businesses like yours generate more profits by building awareness, driving web traffic, connecting with customers, and growing overall sales. Give us a call.
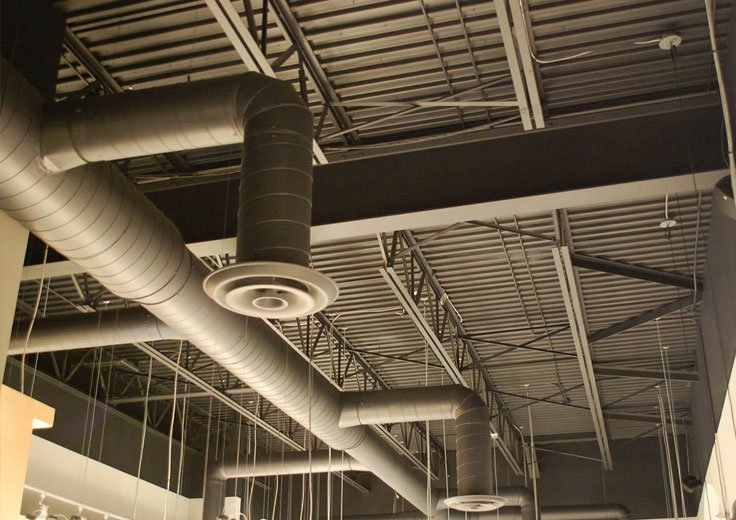
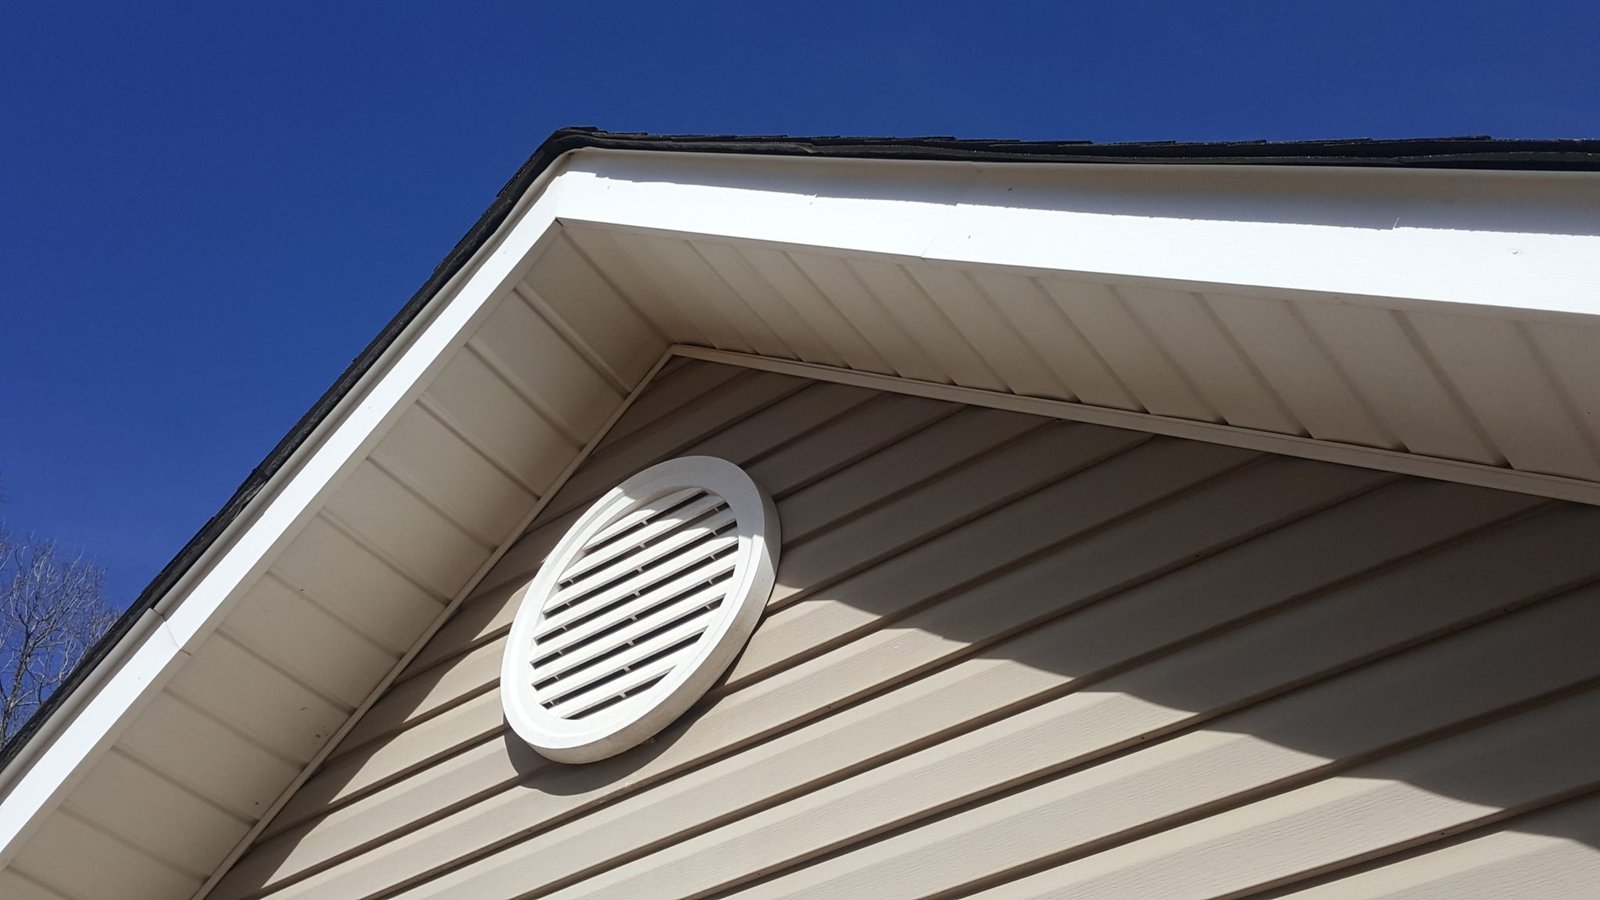
Ventilation System Upgrade
Insulation Installation

Wall Insulation

Window and Door Insulation
Ceiling Insulation


Attaching the Hardware
Cabinet Hardware Installation


Code Compliance
Electrical Code
Plumbing Code
Building Code


Functionality Testing

Plumbing Test

Appliance Test
Lighting Test
Cabinet Check

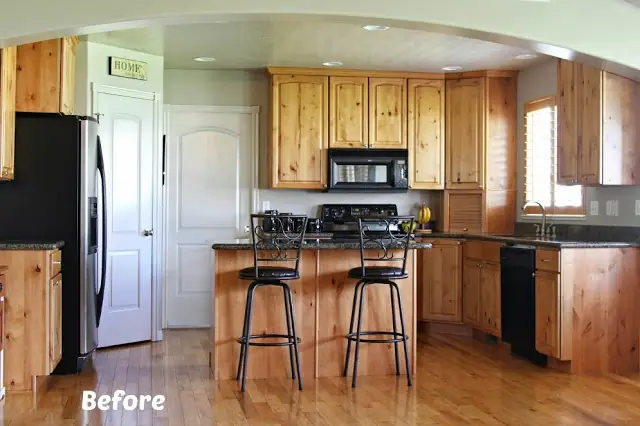
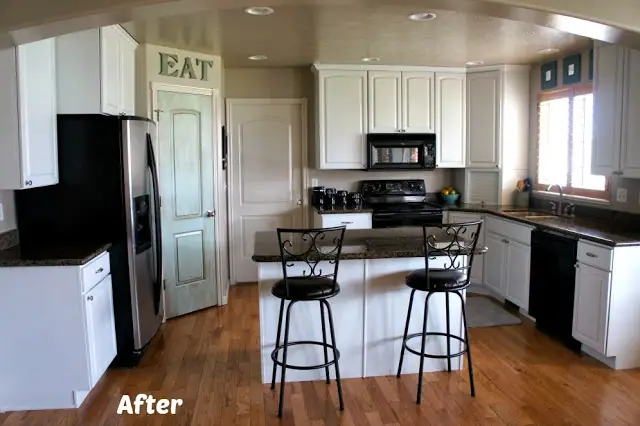
Enjoying Your New Kitchen