Elevate Your Living Space: Vertical Home Expansion
Maximize your property’s potential by building up, not out.
Why Consider Vertical Expansion?
Maximize Space
Increase living area without expanding property footprint.
Boost Property Value
Additional square footage can significantly increase home value.
Preserve Outdoor Areas
Maintain yard space by building up instead of out.
Types of Vertical Expansions
- Full Floor Addition
- Dormer Addition
- Loft Conversion
- Roof Raise
Full Floor Addition
Add entire new level above existing structure.
Dormer Addition
Expand attic space with protruding window structure.
Loft Conversion
Transform unused attic into functional living space.
Roof Raise
Elevate existing roof to create additional headroom.
Planning Your Vertical Expansion
01
Assess Feasibility
Evaluate structural integrity and local zoning regulations.
02
Design and Plan
Work with architect to create expansion blueprints.
03
Obtain Permits
Secure necessary building permits from local authorities.
04
Hire Contractors
Select experienced professionals for construction work.
Structural Considerations
01
Foundation Assessment
Ensure existing foundation can support additional weight.
02
Load-Bearing Walls
Identify and reinforce key structural elements.
03
Roof Structure
Evaluate need for new roof framing.
04
Seismic Considerations
Implement necessary earthquake-resistant features in design.
Zoning and Legal Requirements
Height Restrictions
Setback Requirements
Historical Considerations
Designing Your New Space
Layout Planning
Optimize flow and functionality of new space.
Natural Light
Incorporate skylights and strategically placed windows.
Staircase Design
Choose style that complements existing architecture.
Storage Solutions
Maximize utility with built-in storage options.
Budgeting for Vertical Expansion
Item
Estimated Cost Range
Design and Planning
$5,000 - $15,000
Permits and Fees
$500 - $5,000
Construction
$100,000 - $300,000+
Finishes and Fixtures
$20,000 - $50,000
Choosing the Right Contractor
01
Research
Gather recommendations and read online reviews.
02
Interview
Meet with multiple contractors to discuss project.
03
Verify
Check licenses, insurance, and past project references.
04
Compare
Review detailed bids and timelines from top candidates.
Preparing for Construction
01
Temporary Relocation
Plan for alternative living arrangements during construction.
02
Protect Belongings
Cover or remove furniture and valuables from work areas.
03
Utility Considerations
Prepare for temporary disruptions to water and electricity.
04
Neighbor Communication
Inform neighbors about upcoming construction noise and activity.
Foundation Reinforcement Techniques
- Underpinning
- Steel Reinforcement
- Concrete Injections
Underpinning
Strengthens existing foundation by extending it deeper.
Steel Reinforcement
Adds steel beams or columns for additional support.
Concrete Injections
Fills voids and cracks to stabilize foundation.
Framing the New Level
01
Remove Existing Roof
Carefully dismantle current roof structure.
02
Install Floor Joists
Place support beams for new level's floor.
03
Erect Wall Frames
Construct exterior and interior wall structures.
04
Build New Roof
Frame and install new roof over expanded structure.
Incorporating Energy Efficiency
Advanced Insulation
Use high-R-value materials for superior thermal performance.
Energy-Efficient Windows
Install double or triple-pane windows with low-E coating.
Solar Integration
Consider adding solar panels during roof construction.
HVAC Upgrades
Implement energy-efficient heating and cooling systems.
Electrical and Plumbing Considerations
-
01
-
02
-
03
-
04
Electrical Panel Upgrade
Assess need for increased electrical capacity.
New Circuits
Install dedicated circuits for new living spaces.
Plumbing Stack Extension
Extend existing plumbing to reach new level.
Water Pressure
Evaluate need for pump to maintain pressure.
Staircase Options
- Spiral Staircase
- Floating Stairs
- Traditional Straight
Spiral Staircase
Space-saving option with unique visual appeal.
Floating Stairs
Creates open, airy feel in multi-level space.
Traditional Straight
Classic design that complements various architectural styles.
Roofing Considerations
-
01
Material Selection
Choose durable, weather-resistant roofing materials. -
02
Pitch and Drainage
Ensure proper slope for water runoff. -
03
Insulation
Implement adequate roof insulation for energy efficiency.
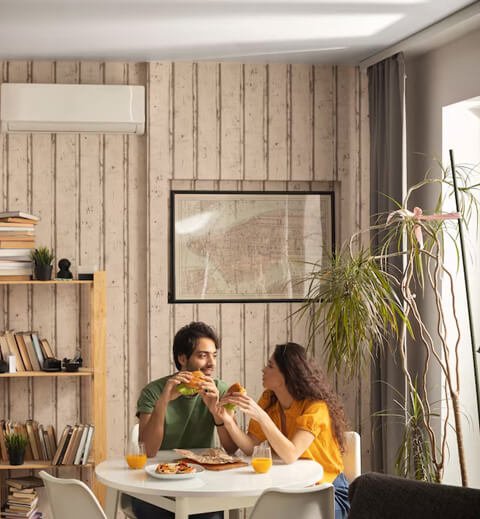
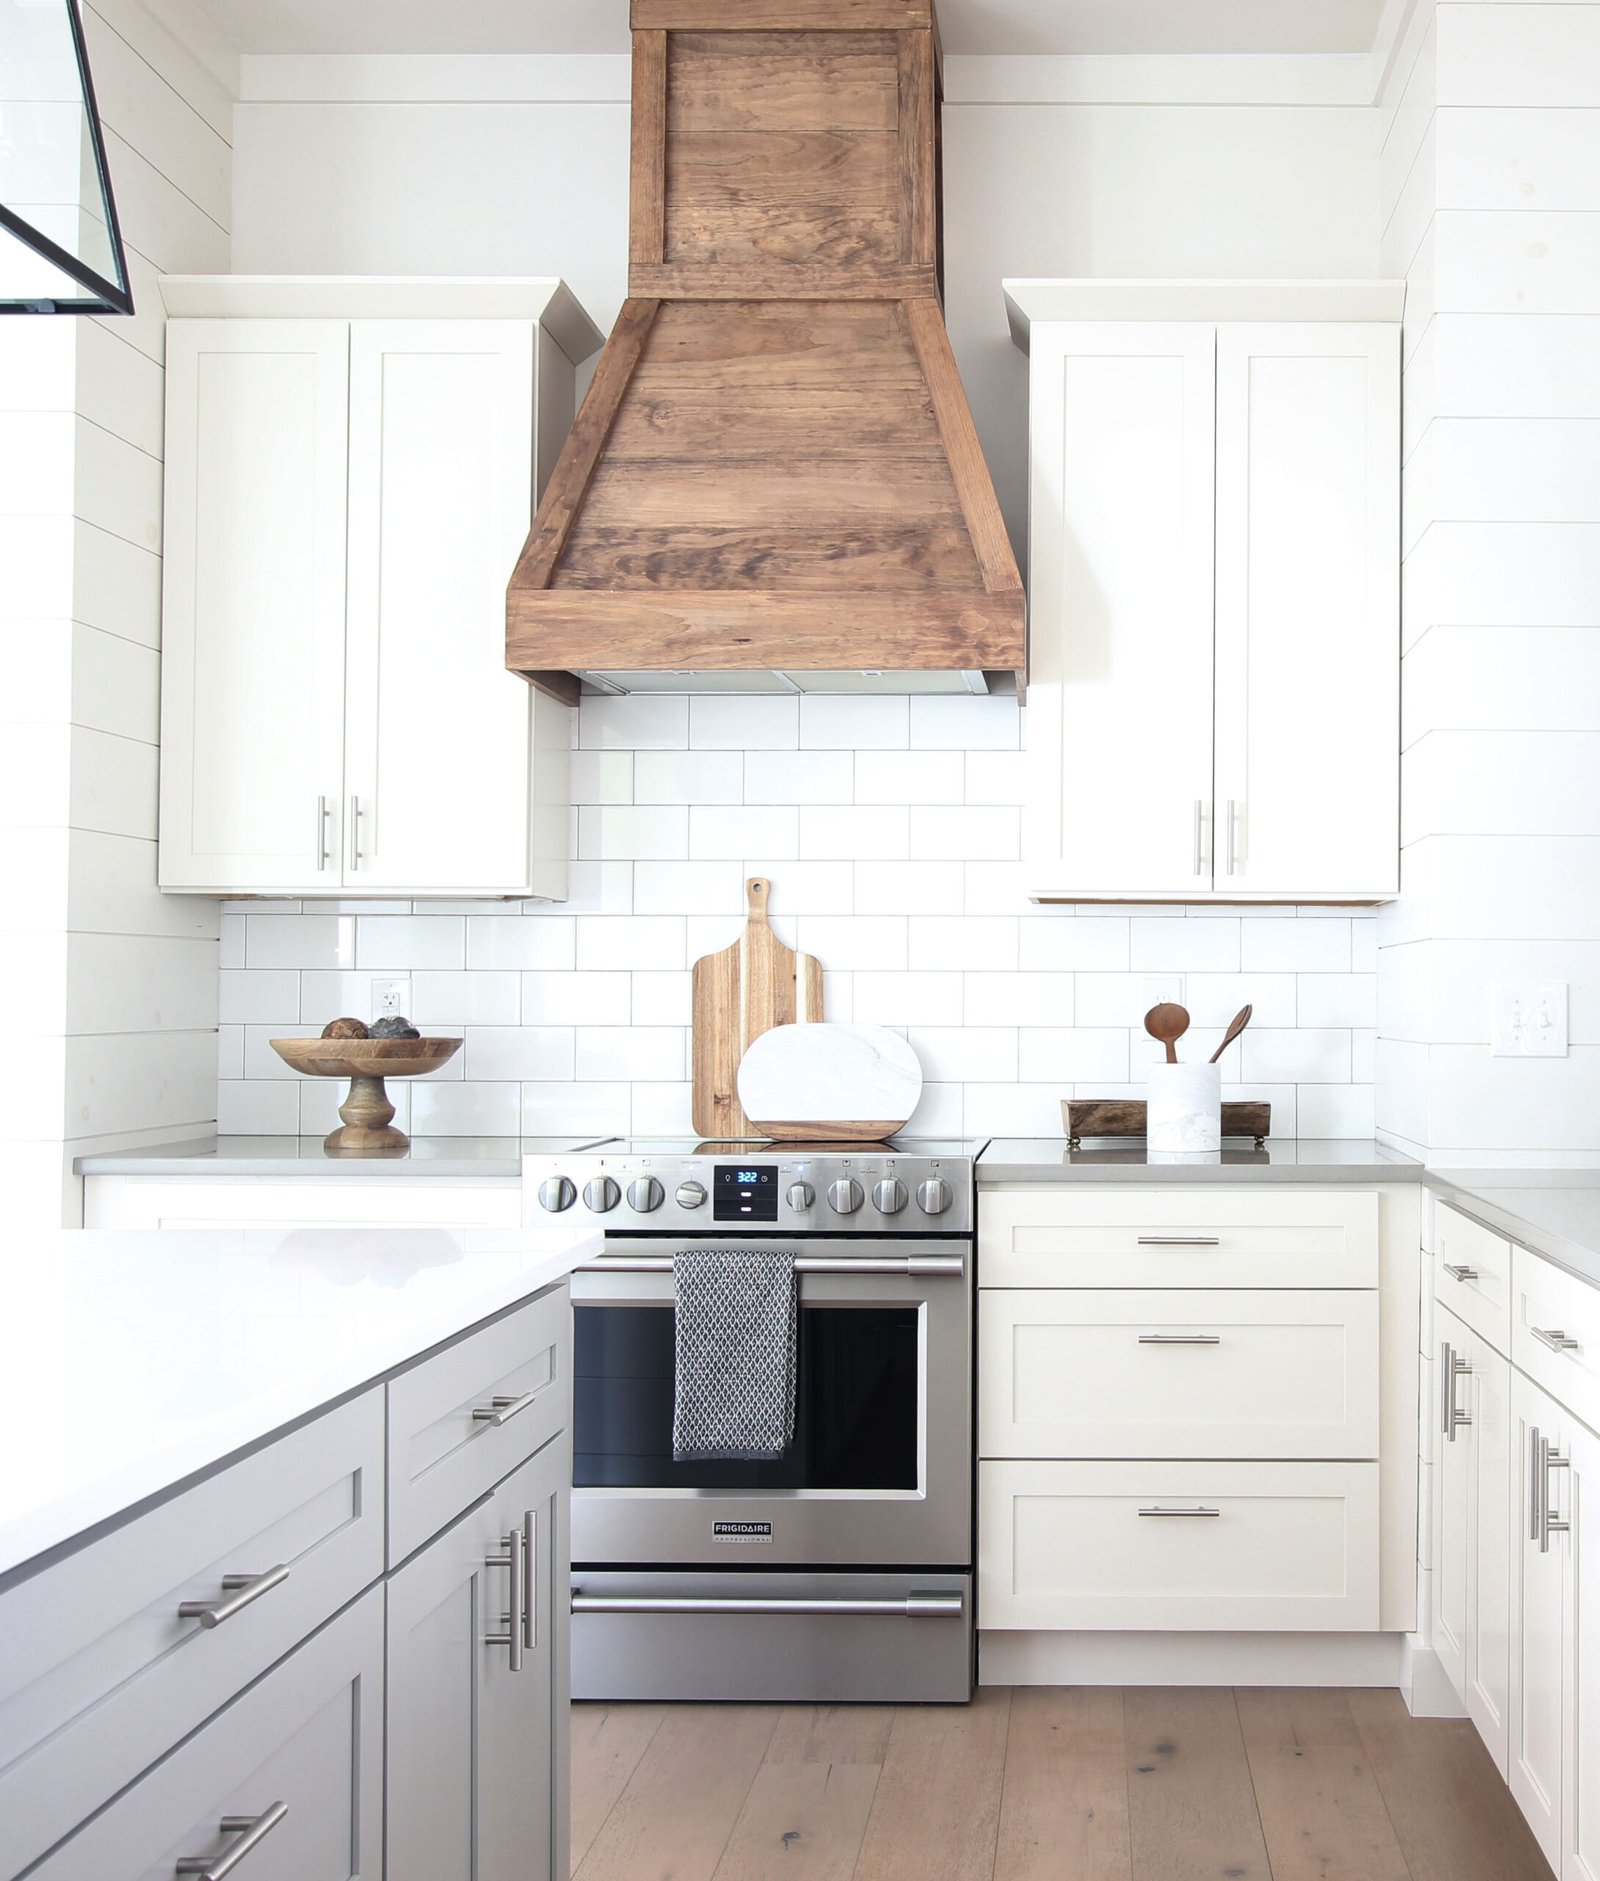
Windows and Natural Light
01
Strategic Placement
Position windows to maximize natural light and views.
02
Skylights
Consider adding skylights for additional overhead light.
03
Energy Efficiency
Select windows with high insulation and UV protection.
04
Ventilation
Incorporate operable windows for natural air circulation.
Exterior Finish Options
Finish Type
Pros
Cons
Vinyl Siding
Low-cost, low-maintenance
Limited design options
Fiber Cement
Durable, fire-resistant
Higher cost, professional installation required
Brick Veneer
Classic look, long-lasting
Expensive, time-consuming installation
Stucco
Versatile, good insulation
Prone to cracking, moisture issues
Interior Design Integration
Color Scheme
Identify required permits for your project.
Furniture Layout
Plan optimal arrangement for new living areas.
Lighting Design
Incorporate layered lighting for ambiance and function.
Flooring Selection
Choose materials that complement existing floors.
HVAC System Expansion
01
Load Calculation
Determine heating and cooling needs for new space.
02
System Upgrade
Evaluate need for larger or additional HVAC units.
03
Ductwork Design
Plan efficient duct layout for new level.
04
Zoning Options
Consider separate temperature controls for added comfort.
Soundproofing Techniques
Insulation
Use acoustic insulation in walls and floors.
Mass-Loaded Vinyl
Add sound-dampening layer to walls and ceilings.
Resilient Channels
Install to decouple drywall from framing.
Acoustic Sealant
Fill gaps and cracks to prevent sound leakage.
Managing Construction Waste
Recycling
Separate recyclable materials like wood, metal, and drywall.
Donation
Salvage reusable items for donation to local charities.
Proper Disposal
Ensure hazardous materials are disposed of correctly.
Dealing with Unexpected Issues
Hidden Structural Problems
Weather Delays
Material Shortages
Inspections and Approvals
01
Foundation Inspection
Verify structural integrity before framing begins.
02
Framing Inspection
Ensure proper construction of walls, floors, and roof.
03
Electrical and Plumbing
Check installations before walls are closed up.
04
Final Inspection
Obtain certificate of occupancy upon project completion.
Finishing Touches
Painting
Apply final coats of paint to walls and trim.
Light Fixtures
Install and connect new lighting elements.
Flooring Installation
Lay final flooring materials in new spaces.
Hardware
Add door knobs, cabinet pulls, and other hardware.
Landscaping Restoration
01
Soil Repair
Address compaction and damage from heavy equipment.
02
Replanting
Replace vegetation affected by construction activities.
03
Hardscaping
Repair or replace damaged walkways and patios.
01
Drainage
Ensure proper water flow away from new structure.
Post-Construction Cleaning
Dust Removal
Thoroughly clean all surfaces to remove construction dust.
Window Cleaning
Clean all windows and frames inside and out.
HVAC Cleaning
Clean ducts and replace filters in heating/cooling system.
Final Touch-ups
Address any scuffs or marks on walls and trim.
Documenting the Process
-
Photo Documentation
Capture before, during, and after images of project. -
Video Diary
Record key milestones and transformations on video. -
Written Journal
Keep detailed notes on decisions and progress.
Celebrating Your New Space
Housewarming Party
Invite friends and family to celebrate completion.
Professional Photos
Capture high-quality images of finished expansion.
Enjoy Your Space
Take time to settle in and appreciate new living areas.
Share Your Experience
Write reviews for contractors and share project insights.
